
Paper art is something I’ve been wanting to try and build a little more experience with. I’ve seen so many cool projects, some simple and some extremely complicated, that are all very eye catching. But before trying out some of the more intricate projects I want to do something simple. Therefore, I’m starting with this easy ripped paper silhouette art.
I love doing craft projects that involve silhouettes of some kind. So that is what I decided to center this paper art project around. It’s extremely simple to put together with only a few supplies that you might already have on hand. My finished project is being put into a standard 8×10 frame. But you could size your project to fit into a bigger or smaller frame if you like.
What You Will Need for this Project
Note: This post may contain affiliate links, which means that if you click on a link and make a purchase, I may earn a small commission at no extra cost to you. For more information, please see my Disclosure.
Materials:
Cardstock
Frame

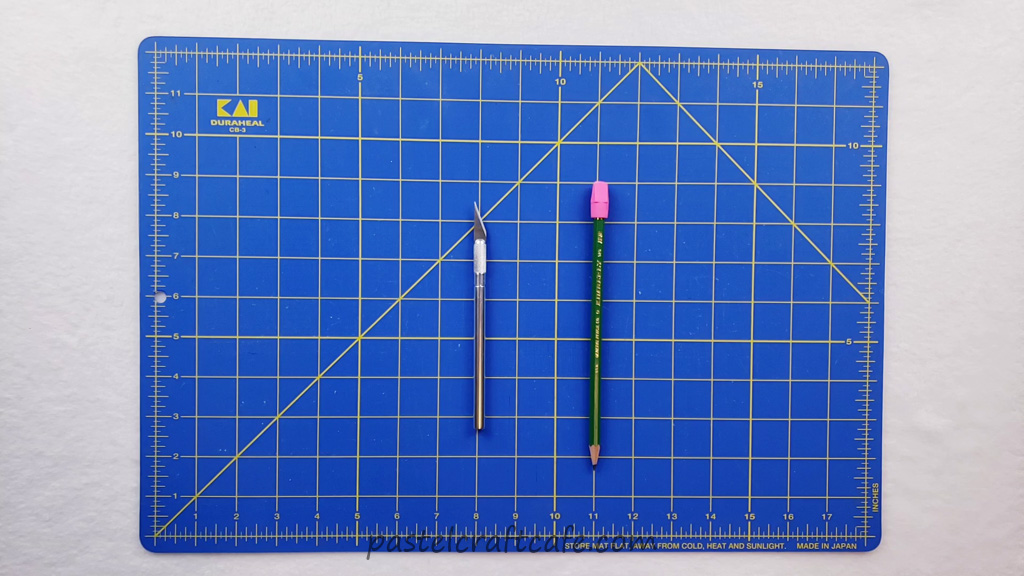
Tools:
Pencil
How to Make Ripped Paper Silhouette Art
Trim Paper and Cut Silhouette
Before cutting your silhouette, you will need to first cut your top piece to fit the size of your frame. I’m using cardstock that is 8 ½ x 11 inches. That way I only need to trim it down a little to fit my 8 x 10 inch frame. You will want the top paper cut down to size before cutting your silhouette so that everything will be properly centered.
I actually forgot to do this part while I was making my example project and needed to trim my top piece later. But thankfully I was able to make everything work out. I’ll explain more about what I did when we get to that part later in the tutorial.
Next you will need to cut your silhouette shape from the sheet of paper that is going to be placed on the top of the project. For this example I am cutting a mountain shape out of my “sky” blue paper. I made a template for my shape and traced it onto my paper before cutting. But you could draw your design right onto your paper if you like.
EDIT: If you want to use the same mountain design I did in this project, I now have the template available in my Resource Library.

To cut the shape out, you will need to use a craft knife or some other similar tool. For simple shapes you may be able to get away with using scissors for this step. But you will most likely end up with folds in your paper and edges that aren’t as clean.

If you happen to have a cutting machine, such as the Silhouette or the Cricut, that would be a great way to cut out your silhouette as well, especially if you choose to do a more complicated shape. I actually used my Silhouette Cameo to cut the template that I used here.
If you do have a cutting machine and decide to use that, you can even skip making a template and cut your paper to size with the silhouette all in one step. That is my preferred method, but I wanted to also show how to make this project with more affordable tools for anyone who doesn’t have the budget for an expensive cutting machine.
Rip Paper Strips from Cardstock
Next you will rip the paper strips that will create the color under your silhouette. For mine I am using different shades of pink to create an ombre effect with white on the top layer to represent the snow of the mountain.
The type of cardstock you use doesn’t really matter. I was choosing my paper based on the colors I was looking for and ending up using both 65 lb and 110 lb. Both types were easy to rip and layered well, so feel free to mix and match different types of cardstock.

The width of your strips is mostly going to come down to how big your silhouette is and how many layers you want in total. I didn’t measure any of my pieces before ripping them and they ended up being between 2 to 3 inches wide and that worked well.
I would suggest ripping your pieces bigger rather than smaller. You can always layer your strips closer together but if they are too short you can only go so far apart.
You only need to rip one strip of each color, but I went ahead and ripped multiple strips from each page. That allowed me to go through and choose which ones I liked best.

Also pay attention to the size of your silhouette. I ripped all my paper on the width so the strips were 8 ½ inches in length. The bottom of my mountain ended up being slightly larger than that, so I needed to get a new sheet of my darkest pink and rip an 11 inch strip to fit on the bottom.
Lay Paper Strips Out and Adjust if Needed
Lay your strips down on top of one another to create the layering effect. Again, this part comes down to personal preference on how you do it. I layered from bottom to top with my colors on bottom being darker and the colors on top being lighter.

When you rip your pieces, you may notice that one side is all the same color and on the other the core color of the paper will be showing along the torn edge. I decided to layer my pieces with the core facing upward just to give the project a bit more dimension. You can see this especially on my topmost pink piece because it has a white inner core.
Once your strips are spaced the way you like, place your top sheet on top and see how it looks under the silhouette. Adjust your pieces until you are happy with how everything looks.

Don’t worry about any excess paper hanging off of the edges. That will be trimmed in the next step. The only thing you need to make sure of is that there is no empty space inside your silhouette shape.
Glue and Trim Paper Layers
Once everything is adjusted you can start gluing the layers onto one another. You don’t need to use very much glue at all, just enough so everything stays in place after you add everything into your frame.

I used a repositionable glue stick because that’s what I had on hand. I would recommend a permanent glue, but the repositionable one still worked just fine.
When you have glued all the bottom layers together, run some more glue onto the back of your front piece and attach everything together.

Let everything dry for a few minutes, then cut off any excess paper that is poking out from behind your top sheet.

Frame the Ripped Paper Silhouette Art
Since I forgot to trim my paper in the beginning step, I used the glass of the frame as a guide to cut my artwork down to the correct size. By using the glass I was thankfully able to center everything as best as possible.

I would still recommend trimming the top piece before cutting your silhouette. But at least this gives another option in case you forget. I’m always happy when I can salvage a project even if there were a few bumps along the way.
Now that the project is complete, it can be framed.

And here’s a close up look at the layering of the ripped paper silhouette art.

I hope that you enjoyed this tutorial and found it helpful. If you have any questions or comments, please feel free to leave them below. I’d love to hear from you! Thank you for stopping by and happy crafting!

