
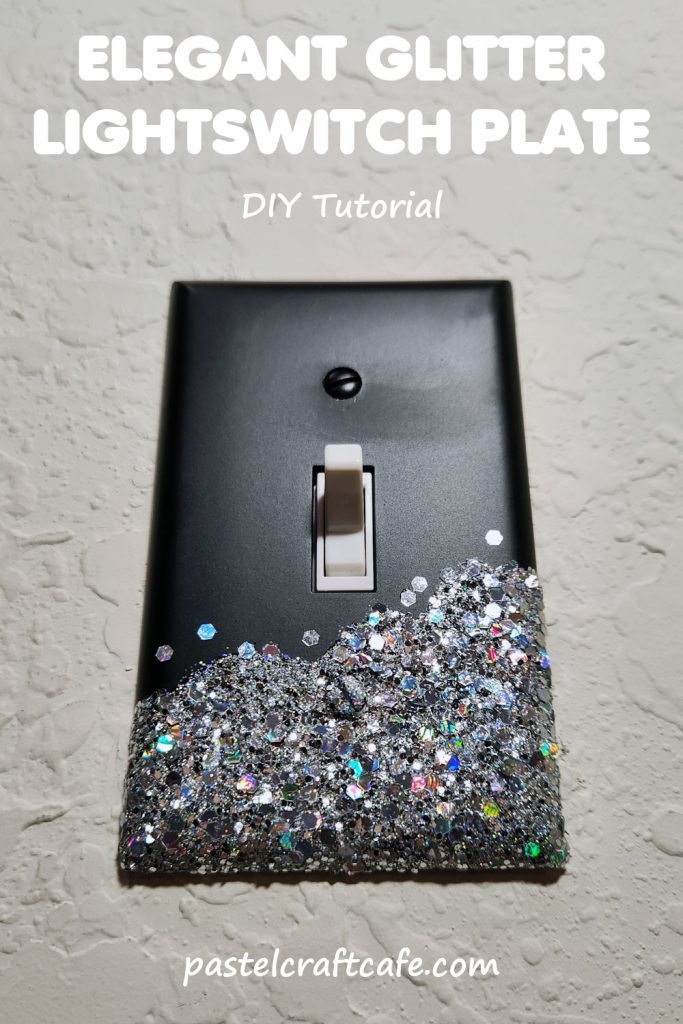
This beautiful and elegant glitter lightswitch plate looks like it has been dipped in glitter and almost mesmerizes you with its sparkles.
It’s been a while since I’ve made any custom lightswitch plates, so I thought it was time to make another one. Last time I made a mermaid scale pattern plate that is still being used in my craft room. But this time I wanted to do something with glitter. Because I just LOVE glitter!
I could have covered the entire thing in glitter, but I’ve decided to save that idea for another time. This particular project is just going to have a layer of glitter on the bottom half of the switch plate.
So it was only a matter of choosing the colors for my paint and glitter. Lately I’ve really been drawn to the combination of holographic silver and black. So that is what I ultimately went with.
And I’ve got to say, I’m really happy with the end results. The area of sparkling glitter contrasts with the matte black paint for a beautiful and elegant look.
I used a similar style of glitter as my glitter seashell ornaments. But this time I was able to get ahold of a mixed holographic glitter. So I refined my method a bit when adding on the glitter, but overall it’s still pretty much the same.

What You Will Need to Make an Elegant Glitter Lightswitch Plate
Note: This post may contain affiliate links, which means that if you click on a link and make a purchase, I may earn a small commission at no extra cost to you. For more information, please see my Disclosure.
First, gather the materials. Here’s what you will need:
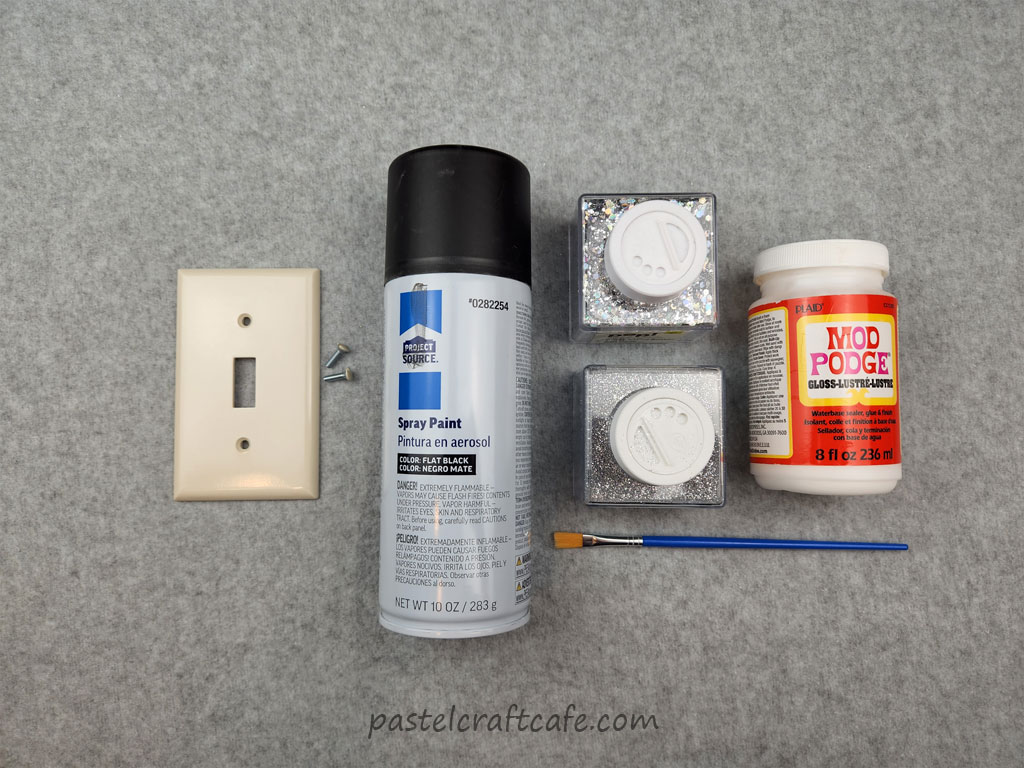
You will also probably need something to protect your work surfaces. I used a trash bag when spray painting and wax paper for everything else.
I also used a small paper cup that I used when painting the screws of the switch plate. I’ll explain that in some more detail in Step 1 of the tutorial.

How to Make an Elegant Glitter Lightswitch Plate
Step 1: Paint Lightswitch Plate
First, the base color of the switch plate needs to be added. For mine I used a matte black spray paint.
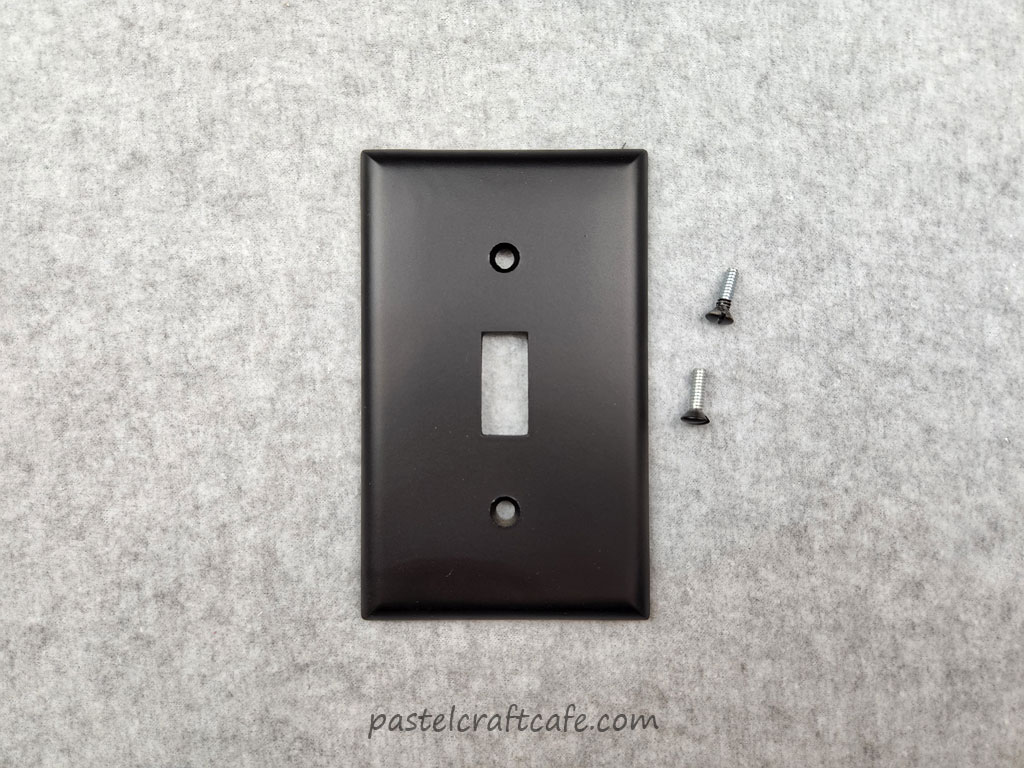
I decided to also paint the two screws that will attach the switch plate to the wall. This is optional and will mostly depend on what color your base coat is. But if possible I like it when the screws blend in with the switch plate.
To help get a good coat on the front of the screws I used a small paper cup to keep them upright. All I did was turn the cup upside down, poke a few small holes in the top and added the screws.

Then take everything to a well-ventilated area and spray on the base coat. I used two thin coats and let the paint dry for about 20 minutes in between. But always double check the instructions on your spray paint can because the dry time can vary a bit between brands.
Here’s everything after the paint has dried:
Although spray paint is by far the easiest way to add a base coat, it’s possible to use acrylic paint as well. It will just take a handful of coats to get good even coverage.
Step 2: Add Fine Glitter
Now it’s time to add some sparkle. You can skip right to the mixed glitter if you want, but I like to add a base layer first. This ensures that you won’t have any bald or thin spots in your main glitter layer.
When laying down a base layer of glitter, use a fine or extra fine glitter. I used a plain silver because it’s what I had. But since my other glitter is holographic I would have used that if I had it. It doesn’t matter too much though, since this layer will be on the bottom and with any luck almost none of it will show through.
Apply a thin layer of Mod Podge to the switch plate wherever you want the glitter to be. I decided to keep my glitter on the bottom area.

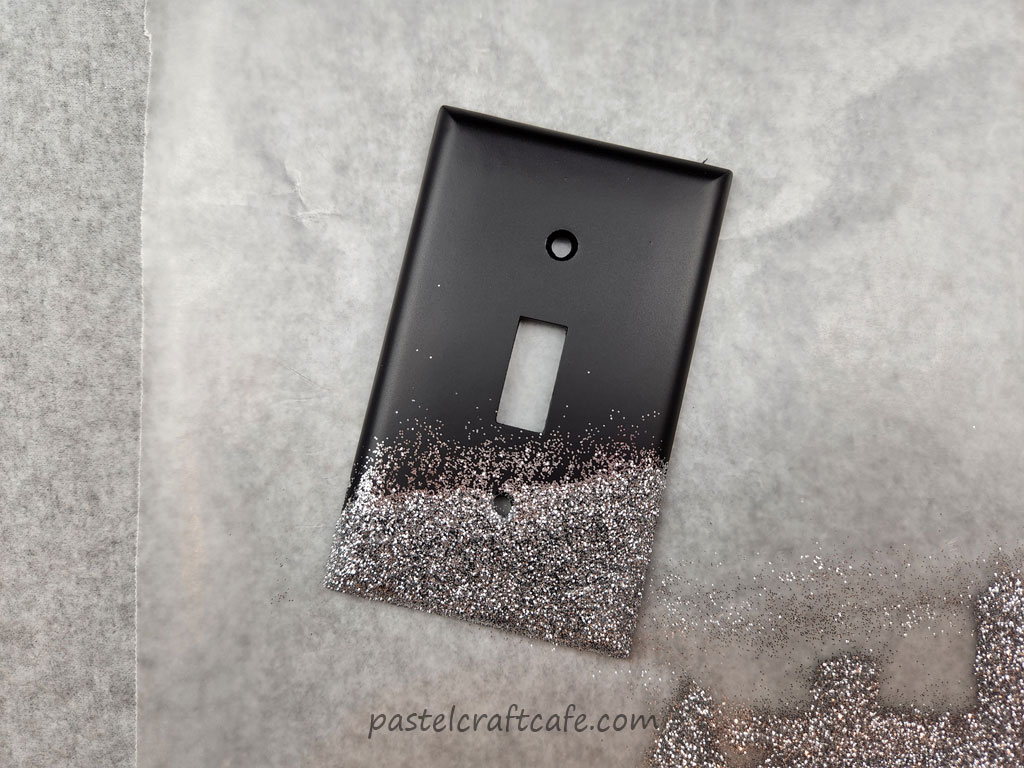
Then add your glitter. No need to hold back, just pour it on thick.
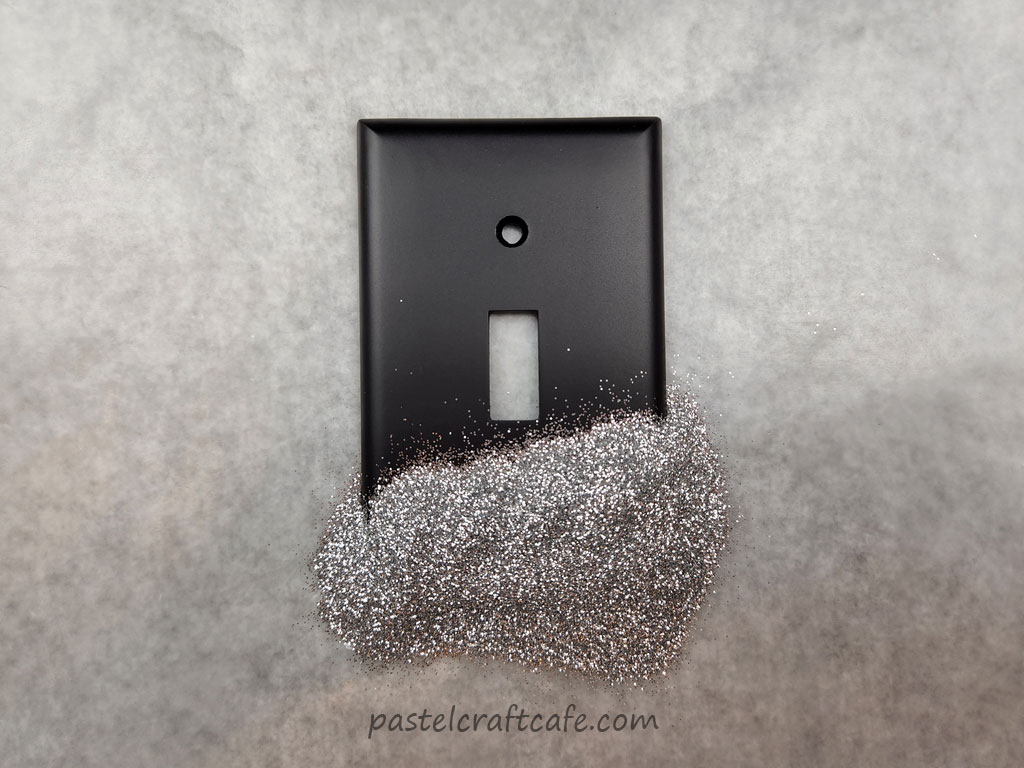
Carefully pick up the switch plate and gently tap off any excess glitter. Then set it aside to dry. Make sure to do this on a piece of wax paper or something similar. That way you can just fold it and dump any leftover glitter back into the container.
Don’t worry about any of the stray glitter pieces quite yet. At this point if you tried to brush them away you would end up messing up the glue as well.
Once the glue has completely dried, take a clean and dry paintbrush and gently brush away any stray bits of glitter. With that, the base layer of glitter is done.

Step 3: Add Mixed Glitter
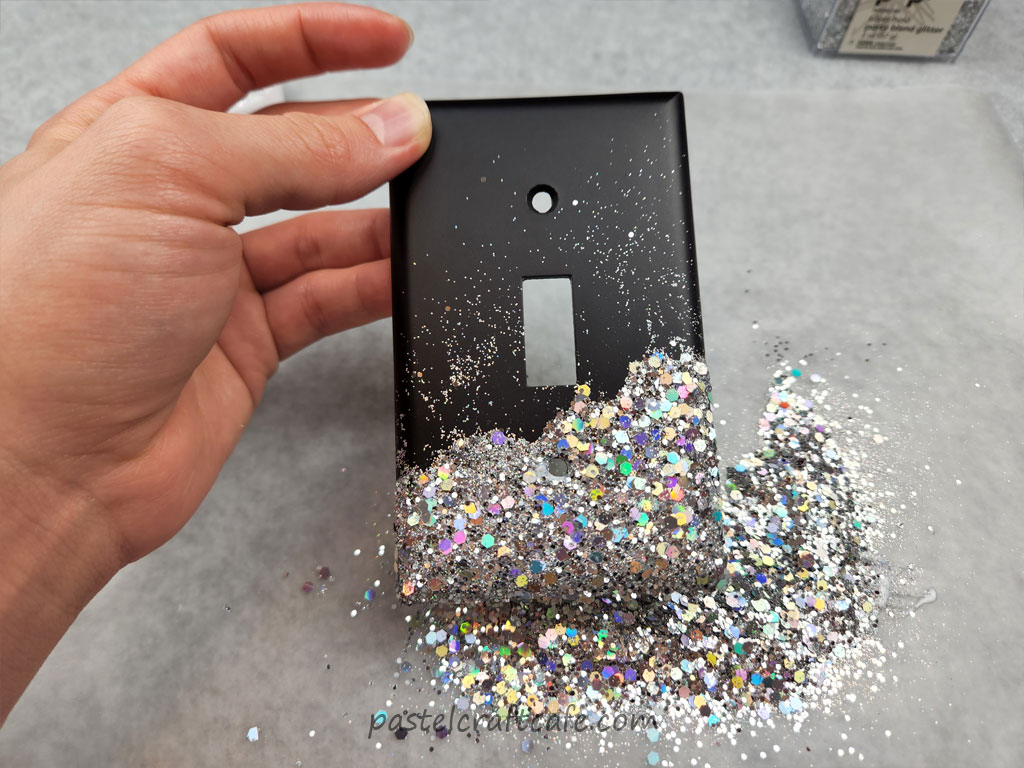
The next step is to add the main glitter. Mine is a holographic silver glitter mix with several different sizes. I thought this would be more interesting than using just one type of glitter.
This layer is added in just about the exact same way as the first. Start by brushing on a thin layer of Mod Podge.
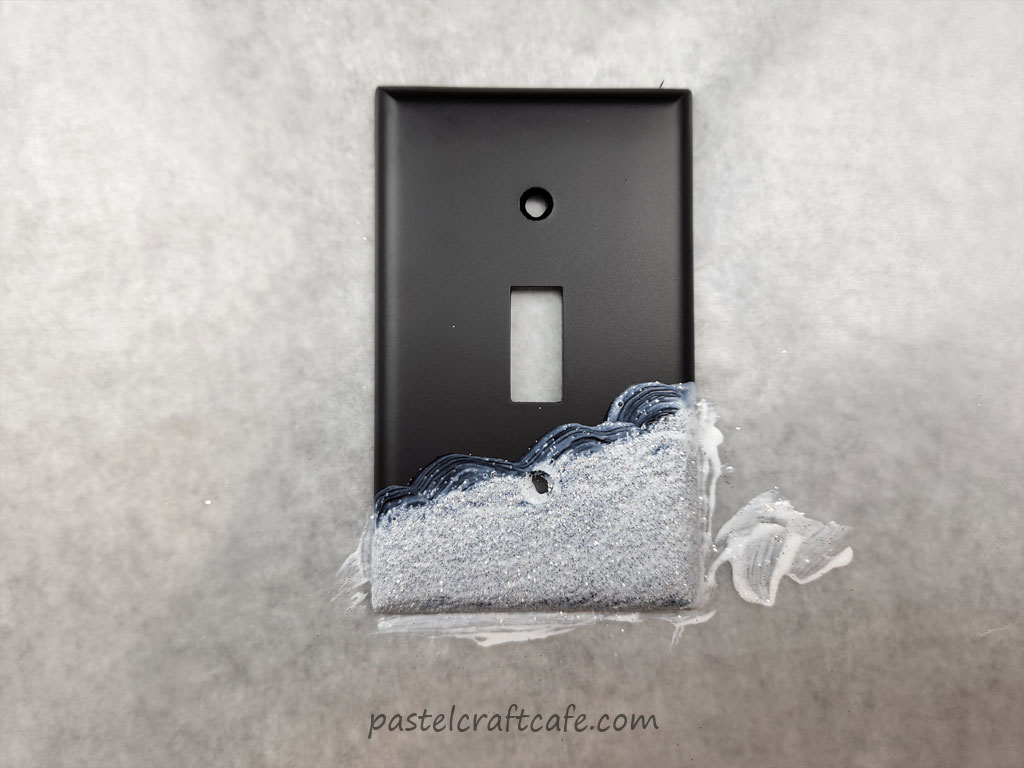
The only difference is I extended my area of glue by just a bit. I wanted to be sure that the entire base layer was covered up.
Now pour on the mixed glitter. Again, just dump it on to ensure the glue has been completely covered up.

Just like with the previous layer, tap off any excess and set aside to dry. Afterward, just brush away any stray bits of glitter.
At this point, the switch plate could technically be done. However, I wanted to add a few final touches and as usual seal the glitter so it wouldn’t shed everywhere.
Step 4: Add Final Touches
For my final touches, I wanted to do two things. First was to add a few more bits of glitter to the switch plate. I thought having a few “stray” pieces that weren’t connected to the main area of glitter would make things look a bit more interesting. For this I would be using the chunky glitter pieces.
I took about six or so of the largest glitter flakes and very carefully painted a tiny bit of glue onto the backs. Then also very, very carefully I placed them onto the lightswitch plate.

This was probably the most difficult part of the whole project. And that was mostly attributed to the glitter flakes being so small and thin.
I also was very careful to not get any smears of glue onto the switch plate. Because it would be noticeable on the matte black background for sure.
The other final touch was to add glitter to one of my screws. Since the bottom one would be sitting right in the middle of a pile of glitter I wanted it to blend a little better.
To do this, I spread a thin layer of Mod Podge onto the top of the screw, then dipped it in the glitter.

You can repeat this process again if needed, but I thought once was enough for me. Just be sure to not cover up the groove in the middle of the screw. After all, what’s the point of decorating it if you can’t screw it into the wall, right?
Then leave everything to completely dry.
Step 5: Seal Glitter
Now for the absolute final step: sealing the glitter. Because I don’t know about you, but as much as I love glitter I don’t want it shedding all over the place.
The downside to using sealer is it will noticeably cut down on the glitter’s sparkle. So you just need to weigh your options before deciding whether or not you want to add it.
If you do want to add some sealer, just brush one final coat of Mod Podge over all your glitter. It can be a bit difficult, but try to make the layer as thin as possible. Also be very careful to not add any glue past the glitter.
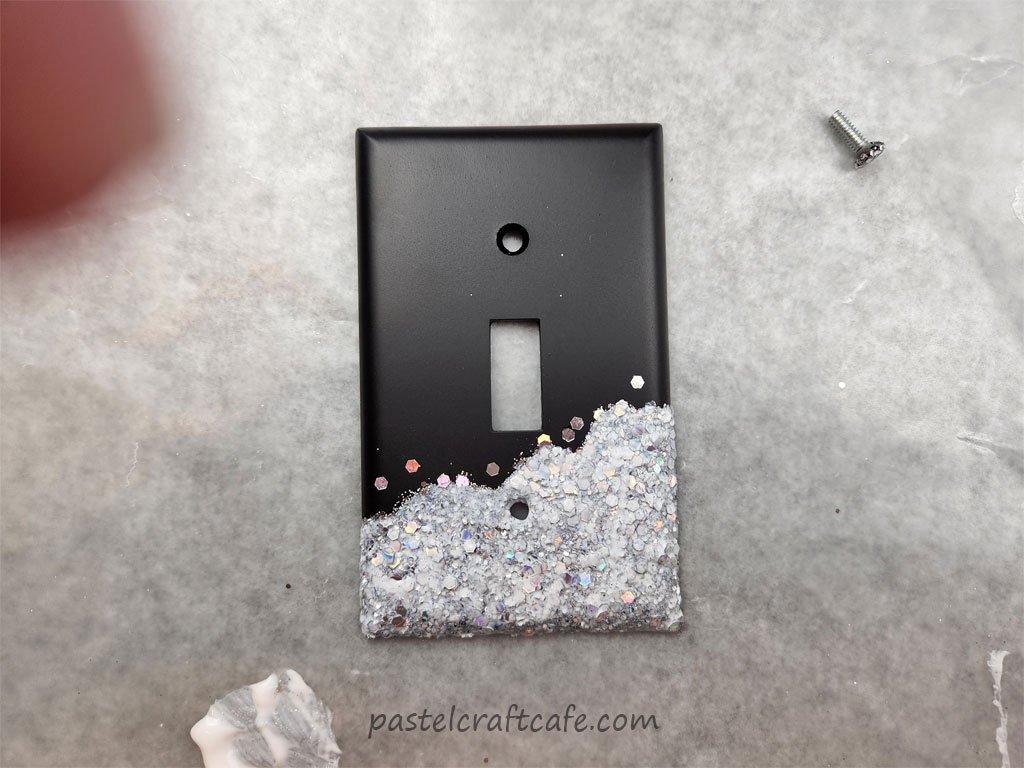
As you can see I didn’t add any to the stray flakes that I added in the last step. There’s really no way to seal these individual pieces.
If you want, you can also seal the glitter on the screw by adding a thin layer of Mod Podge to the top. Then allow everything to completely dry one final time. An hour or two should be more than enough but I left mine overnight just to be sure.
Here is the final result:

Step 6: Attach to Wall
The only thing left to do now is attach the plate to your desired light switch and admire the sparkles.

I think it would look a bit better if the light switch itself was also a matte black. But I didn’t want to mess around trying to paint the switch as well.
Just like pretty much any of my other glitter projects, the pictures don’t truly do this justice. Even with the final layer of sealer on top the glitter sparkles so beautifully. It really draws your eyes to it.
I also tried flipping the switch plate to see how it would look.
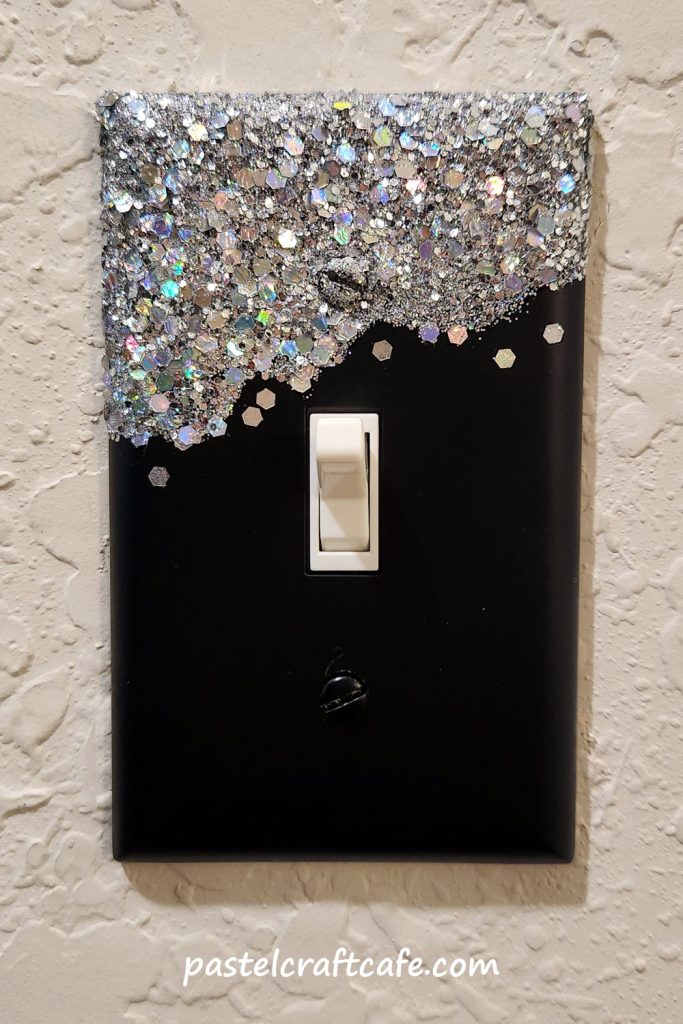
I think it looks great with the glitter on the top as well. It almost looks like it’s dripping down the plate. So cool!
Additional Notes on my Elegant Glitter Lightswitch Plate
Thankfully, this turned out to be another project that came out pretty much exactly like I had envisioned.
Like with most other projects that involve paint, glitter, etc., this one can be customized in any number of ways. Different colors of paint or different styles of glitter can be used to match whatever room you decide to put it in.
You could also adjust the amount of glitter or even where the glitter is on the switch plate. It really is truly up to you.
My only other advice about this project would be to be very careful when you go to screw it into the wall. The matte paint unfortunately was scratched a bit by my screwdriver and it resulted in a small mark next to the top screw. It’s not very noticeable, thankfully, but it just shows that the matte spray paint is a bit more delicate.
I hope that you enjoyed this tutorial and found it helpful. If you have any questions or comments, please feel free to leave them below. I’d love to hear from you! Thank you for stopping by and happy crafting!

If you liked this tutorial, don’t forget to pin it for later on Pinterest!
