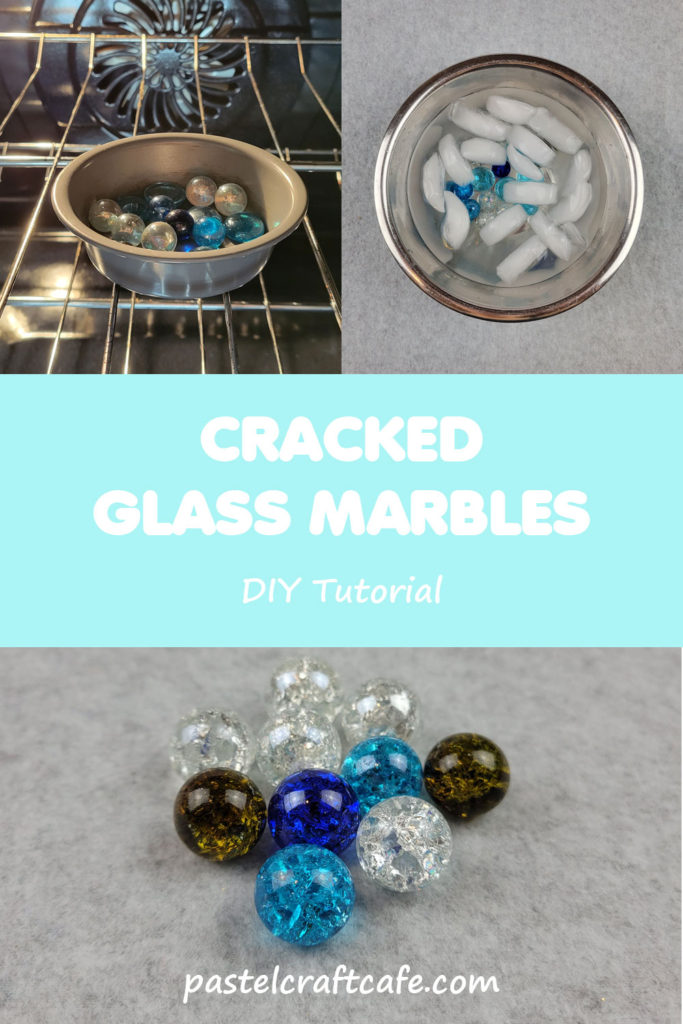
Learn how to make these stunning cracked glass marbles that can be used to add a little extra sparkle to your crafts. They only take a few minutes to make and the results are amazing.
Years ago, I made some of these cracked marbles to make jewelry out of. It was an easy project and I made a few necklaces and earrings for myself and ended up getting tons of compliments on them. I even made a few more sets for friends and family who wanted them.
A few months ago I wanted to make some more of these marbles, but the tutorial I used doesn’t exist anymore. I remembered the general instructions on how to make them, but not the specifics.
So I started looking around to see if I could find another tutorial. I did find some, but it seemed like every one had different instructions on how hot to heat them. And none of them went into very much detail either.
I’m always trying to make the most of any project I do, so I experimented a bit in the hope that I could find the best way to make these pretty little marbles.
After making a handful of batches, I think I’ve come up with some good tips on how to best make cracked glass marbles for yourself. It’s an easy and affordable project that will add just that little extra something when you craft with marbles.

What are Cracked Glass Marbles?
Cracked glass marbles can go by several different names. I’ve seen them called fractured glass, fried marbles, or shattered marbles. And I’m sure there’s even more names out there that I haven’t heard.
But regardless of what you decide to call them, they are all the same thing. These are marbles that have been heated to a high temperature then quickly cooled to create cracks on the inside.
The reason you get these neat looking cracks inside of the marbles are from a scientific reaction. When glass is heated, it expands. On the other hand it contracts when cooled. So when you take a heated marble and dump it in into ice cold water, the outside shrinks up so fast that it causes the inside of the marble to crack.
In most cases, you’re left with a marble that is completely smooth on the outside but is cracked on the inside. The cracks are random, so depending on where they appear there is a chance for one to go all the way through and break the marble. But in my experience I’ve only had a few marbles break here and there.
What Can You Do With Cracked Glass Marbles?
So these marbles are pretty and all, but what can you do with them?
The answer is pretty much anything you can do with regular marbles! Which means there are plenty of options.
You can turn them into jewelry, embellish an art project, add them to an outdoor decor project, or use them as a vase filler. The list goes on and on.
Off the top of my head the only crafts these might not work so well on are projects where the cracks would get in the way. For example, if the glass was going to be over a photo. But overall there are very few crafts that you wouldn’t want to use the cracked version on.
What You Need to Make Cracked Glass Marbles
Note: This post may contain affiliate links, which means that if you click on a link and make a purchase, I may earn a small commission at no extra cost to you. For more information, please see my Disclosure.
Bowl of ice water
Oven
Oven mitts

The type of oven you use shouldn’t matter. I used my big conventional oven, but I imagine a toaster oven would work just fine as well.
Do You Need a Special Kind of Marble for this Project?
As far as I know you don’t need any special kind of marble for this technique to work. I’ve used marbles that I bought from several different places and have gotten similar results regardless of where they came from.
I used marbles I got from both JoAnn and Dollar Tree to do my experiments. They were all from the floral sections of their respective stores.
But I’ve also seen pictures of cracked marbles that were made from blown glass. For anyone that doesn’t know what I’m talking about, it’s the type of marbles that have different color spirals inside the glass. So this technique really does seem to work on any marble as long as it’s made of glass.
And although I keep referring to them as marbles, they don’t need to be the perfectly round ones. The flat back stones you can find in floral sections also work.
Is There Anything That Doesn’t Work?
Yes, there’s at least one. I’m adding this section as an update because I found out about some glass that won’t work with this technique.
A reader reached out to me on Facebook the other day. She said that she tried this technique using the round glass cabochons typically used for jewelry and couldn’t get them to crack.
I decided to try it out for myself and also didn’t have much luck. A few only had minimal cracking and a couple didn’t even crack at all.
I’m not sure exactly why this happened. I’m guessing that these particular glass stones are made from a different type of glass from the marbles and other floral stones. This could be why they are so resistant to cracking.
The manufacturing process of these types of cabochons is also very different as well. I’m not sure if that’s the reason why but it could also be a possibility.
In any case, this just goes to show that there are some glass components that unfortunately won’t work. Thank you so much to Teena for letting me know about this!
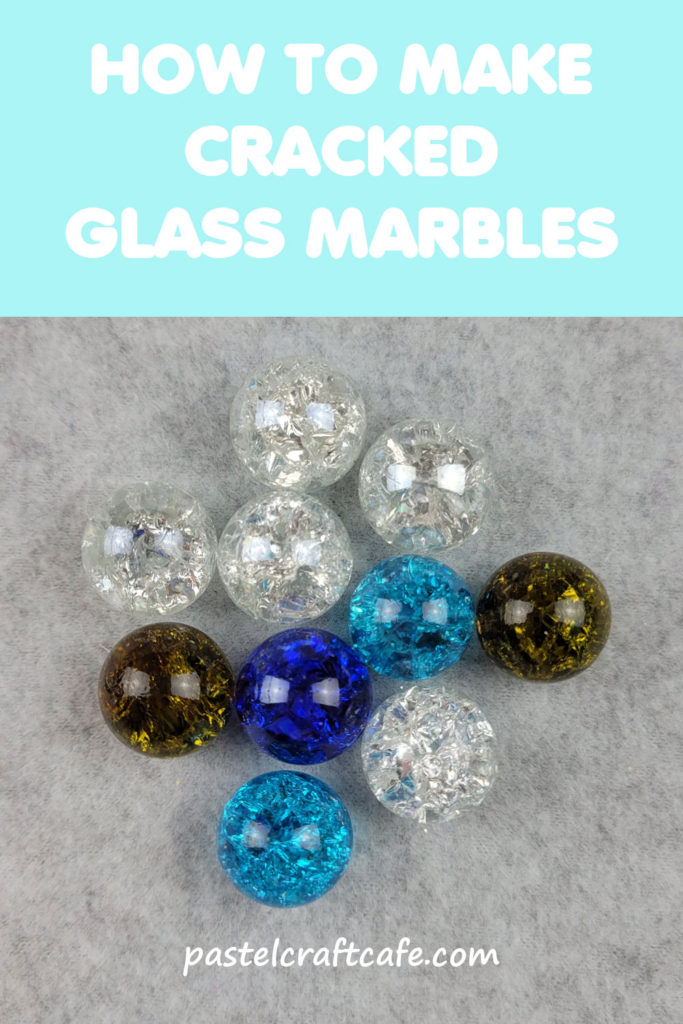
How to Make Cracked Glass Marbles
Step 1: Line Marbles on Oven Safe Tray
First, grab all the marbles you want to bake and place them on your oven safe tray. It doesn’t matter if the marbles are touching but I would avoid adding more than one layer of marbles. That way your marbles can better absorb the heat from the oven.
I used a small metal pan to cook my marbles in. But you could use glass too as long as it’s oven safe.
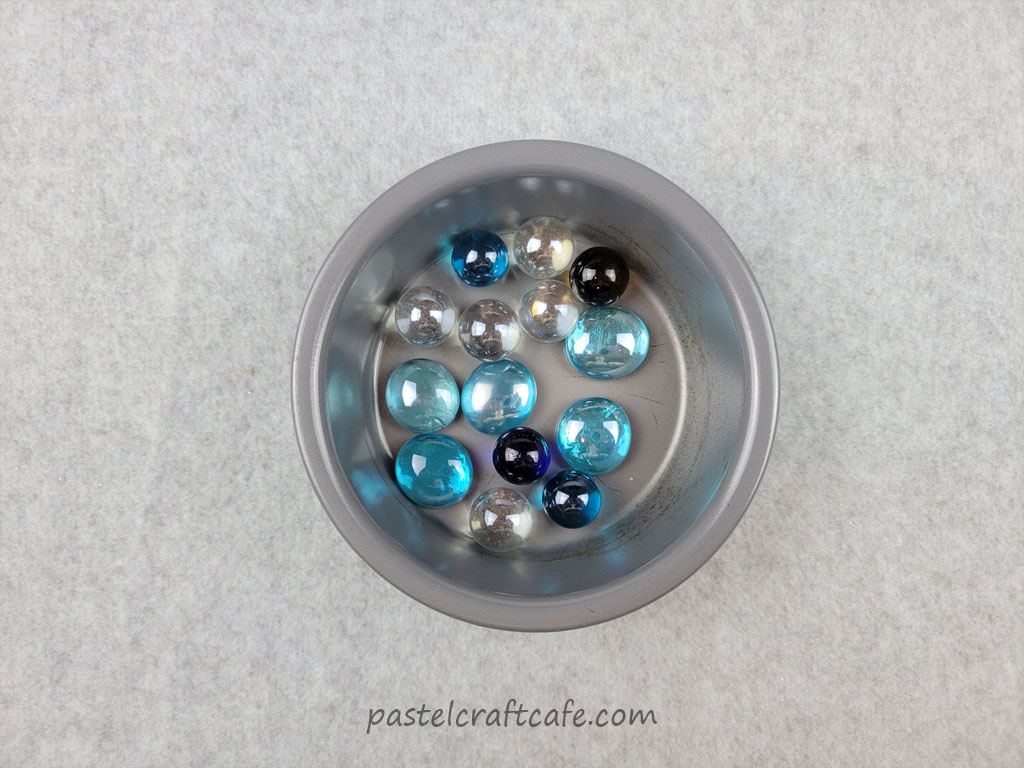
Also, remember that you will be pouring the marbles from this pan into your ice bath as soon as they come out of the oven. So try to pick a pan with that in mind. After all, you don’t want scalding hot marbles spilling all over the counter, right?
At first I was going to use my usual baking sheet that’s about 10×20 inches. But I realized it would be a lot harder to transfer them to the ice bath, so I went with a small round pan instead. It gave me a lot more control so I wouldn’t accidentally spill any marbles.
For these experiments I only baked fifteen marbles at a time. But if you have a lot of marbles you want to bake, I would use multiple small pans. Or if you only have one small pan you can bake them in batches.
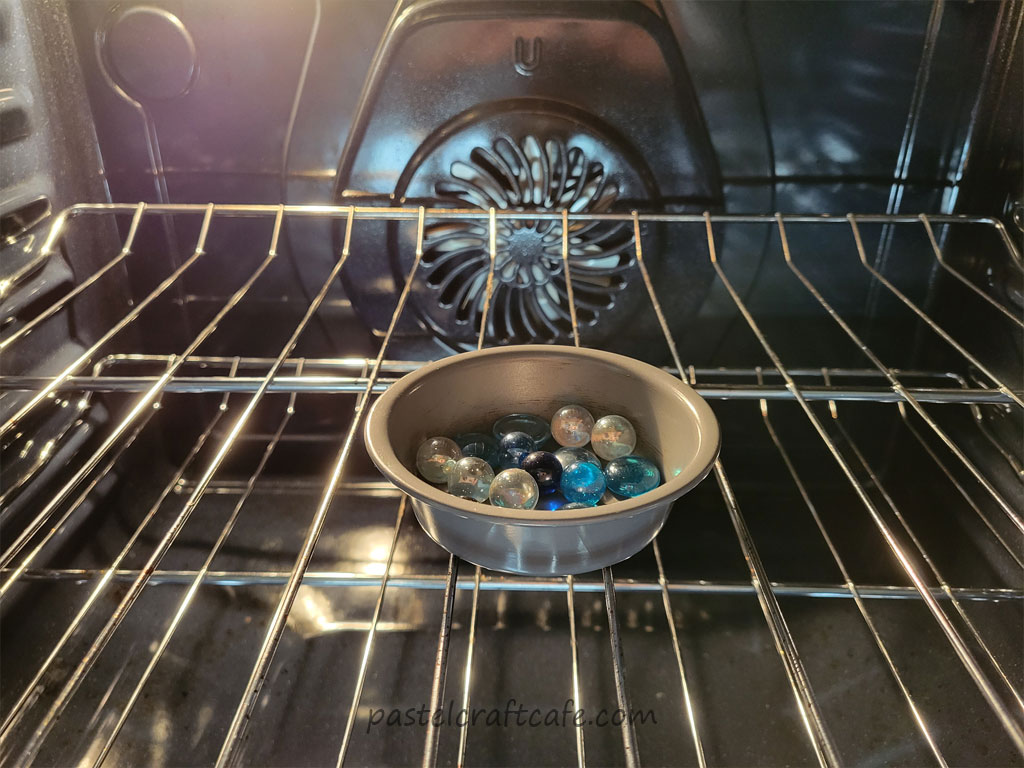
Step 2: Bake Marbles
Now it’s time to bake these marbles. Preheat your oven to your desired temperature (somewhere between 300 and 500 degrees Fahrenheit).
Temperature does make a difference, and I’ll talk about that in more detail later on in the article. That way you can choose the best temp for your project.
Once your oven is preheated, pop your pan in and bake for 20 minutes.
While the marbles are baking you can prepare your ice bath. This is nothing fancy. It’s just some ice and cold water in a bowl.
I like to do this when there’s about five minutes left on the timer. It gives the ice enough time to get the water nice and cold but not enough time to fully melt the ice.
For your ice bath, make sure your container is deep enough to completely submerge the marbles. Other than that, it doesn’t matter what the container is shaped like. And the marbles cool down fast enough that you don’t need to worry about it being heat proof either. I used a metal mixing bowl, but a simple plastic container works just as well.
Step 3: Drop Marbles Into Ice Bath
When the 20 minutes are up, take the marbles out of the oven. Then dump the hot marbles directly into the ice bath.
If you heated your oven to one of the higher temperatures you might hear the marbles “hiss” when they are dropped in. That’s just the result of the marbles rapidly cooling down.

Also, just keep in mind that there is the potential for the marbles to break once they hit the water. Even when heating them up to 500 degrees Fahrenheit I don’t think it’s possible for them to explode or anything drastic like that. But if one breaks there can be small glass shards at the bottom of the bowl. So just be cautious about that.
I like to leave the marbles in the water for a few minutes so they can completely cool down. Then remove them and set them aside to dry.

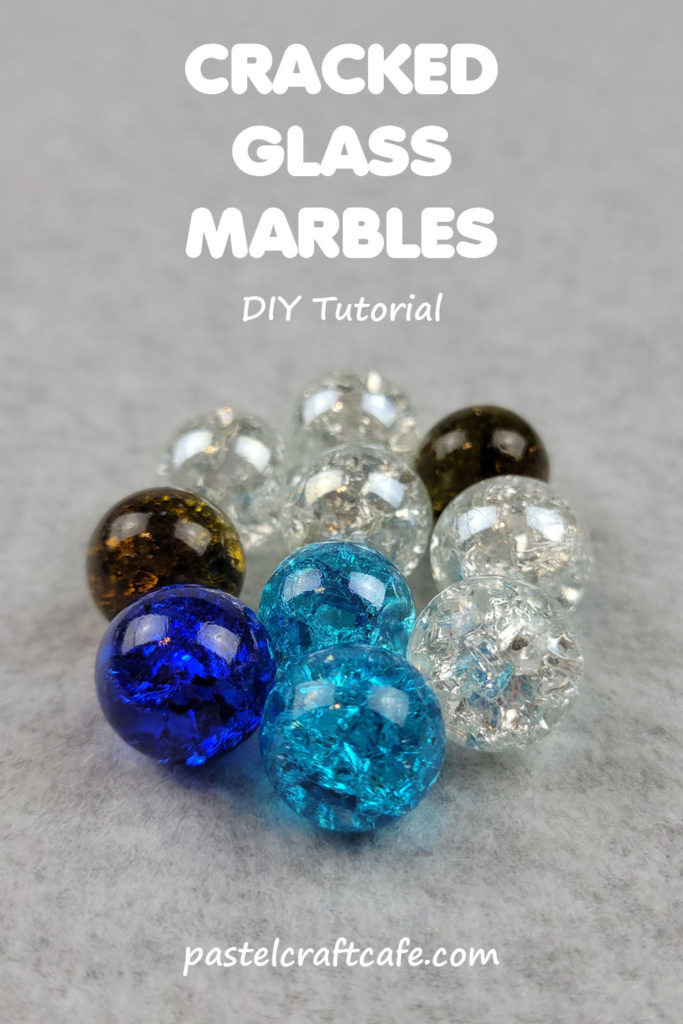
Don’t they look absolutely beautiful? I love how each one is just a bit different. It’s like what they say about snowflakes: no two are exactly alike.
The Best Temperature for Cracked Glass Marbles
So now that you know how to make these beautiful marbles, is there an ideal temperature to bake them at?
When I started this project I wasn’t sure if there would be much of a difference in the marbles baked at different temperatures. So I was pleasantly surprised that there really is a noticeable difference depending on how hot your oven is.
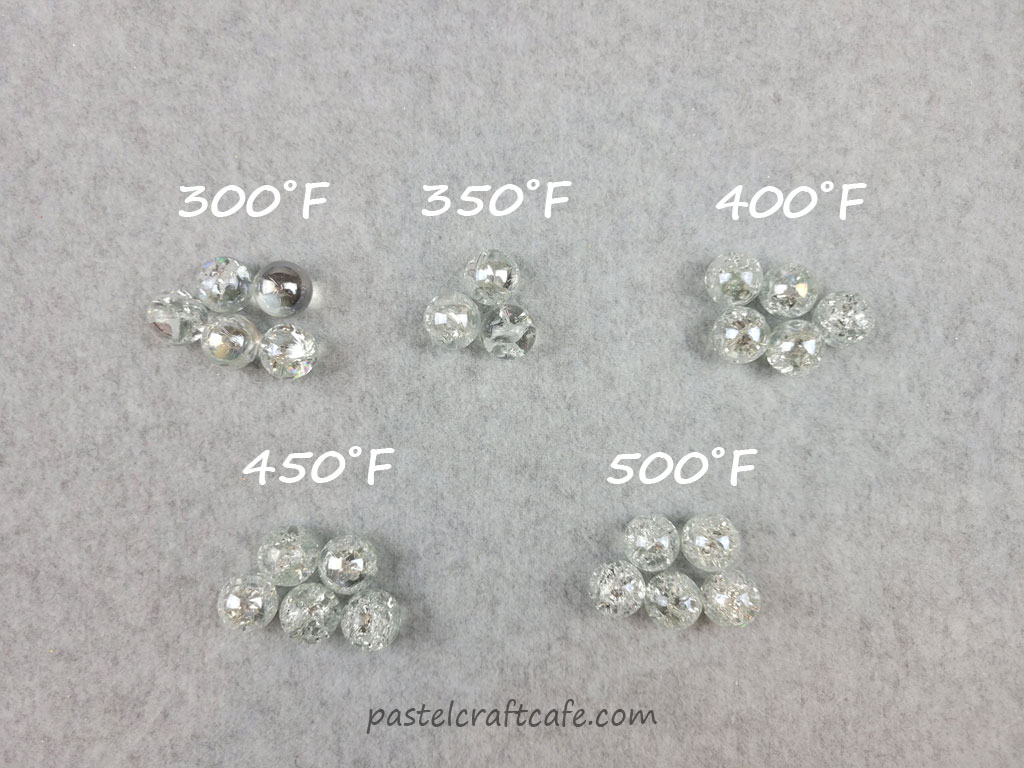
For my tests, I used a handful of marbles split into five different batches and baked them at 300, 350, 400, 450, and 500 degrees Fahrenheit. Everything else was kept the same. Same oven, same baking time, same type of metal pan, and same container for the ice bath. I even made a new ice bath for every batch to make sure it would be as cold as possible.
What I found was that the hotter your oven, the more cracks you will get in your marbles.
This all goes back to that scientific reaction I mentioned at the beginning of the post. Heat makes the marble expand. So it makes sense that a higher temperature would make it expand more. The more the marble expands, the more it then has to shrink when dropped into the ice bath, resulting in more cracks.
After all my experiments I think the best temperature is about 450 degrees Fahrenheit. But of course that’s just my personal opinion. Below I have some pictures showing the marbles from each of my experiments so you can decide for yourself.
Comparing the Marbles at Different Temperatures
So let’s take a closer look at how the marbles turned out after being heated to different temperatures.
Here is my first batch, baked at 300 degrees Fahrenheit:

Some turned out better than others, but not much cracking overall. The clear marble all the way to the left didn’t even crack at all!
Next up are the marbles baked at 350 degrees Fahrenheit:
A bit more cracking now, but nothing too drastic. As you can see, one of the marbles in this batch even ended up breaking into several pieces.
After that are the marbles baked at 400 degrees Fahrenheit:

Now we’re starting to see some good cracking. But we can do even better!
Next are the marbles baked at 450 degrees Fahrenheit:

These are looking really beautiful. Especially on the round marbles you can see tons of little cracks. Only one more experiment left.
Finally, here are the marbles baked at 500 degrees Fahrenheit:

Like the ones baked at 450, they look wonderful with all the tiny little cracks. Honestly there doesn’t seem to be much difference between the final two batches.
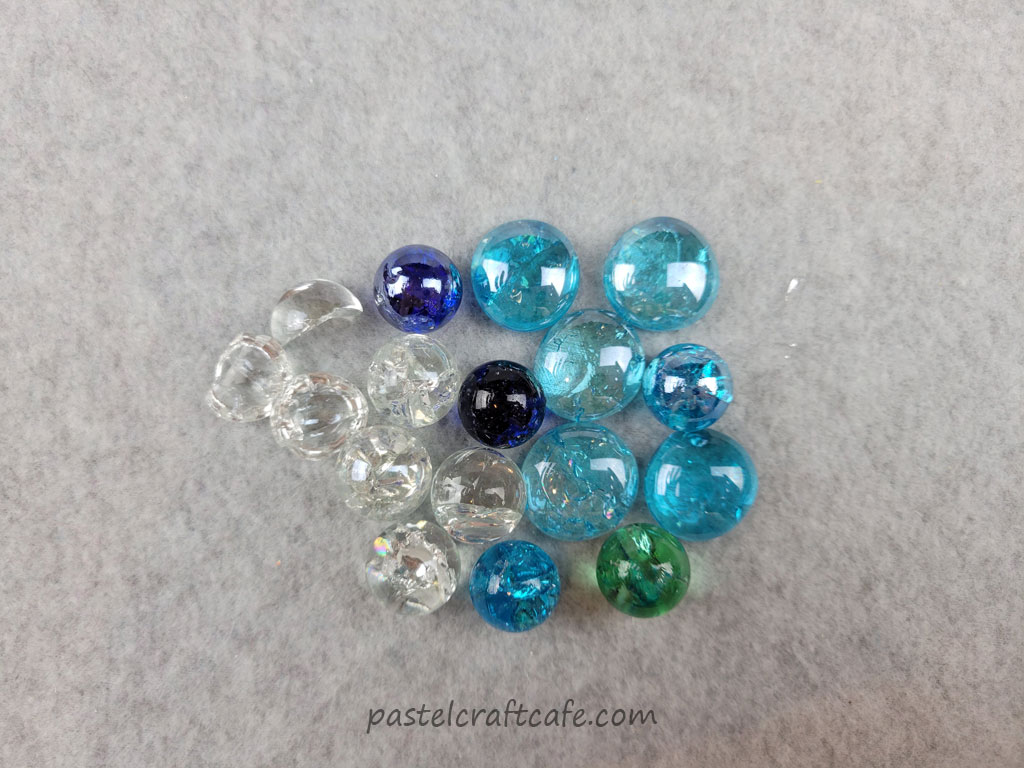
And just to compare them all at the same time I photographed some from each batch together. I went with the clear marbles because the cracks show up the best on those.
As you can see I’m missing another one from my 350 degree batch. That one ended up breaking right before I took this picture. So that just goes to show that there’s a risk for breaking even at lower temperatures.
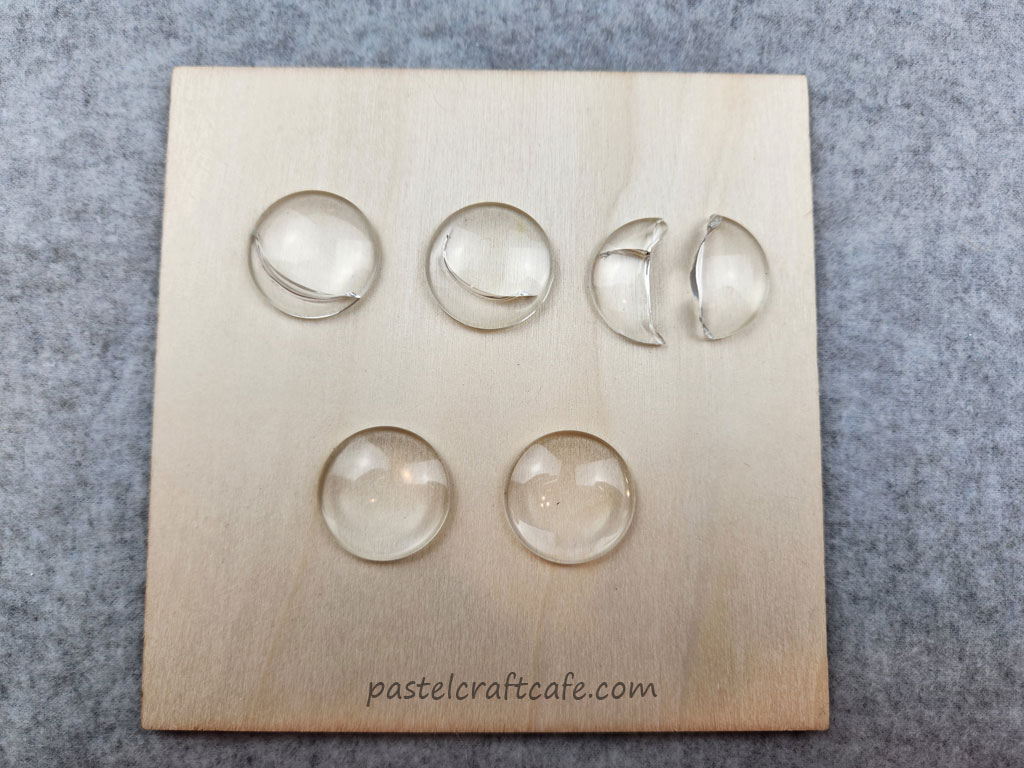
And finally, here’s a closer look at a few of the marbles. The one on the left is the average after baking at 300 degrees. And on the right is the average after baking at 500 degrees.

There really is a big difference between the two. But they are both really pretty.
My Final Thoughts on Cracked Glass Marbles
This technique is a really fun way to add that little extra something when you want to craft with marbles. The cracks beautifully reflect light to make these marbles so much more eye catching than plain ones.
I’m happy that I was able to narrow down my technique a bit more. The next time I make a project with these marbles (and there definitely will be a next time) I’ll know how to more reliably get the amount of cracking that I want.
There was one additional thing I did notice. In order to get one of my pictures I needed a whole lot of marbles, so I baked probably about a hundred or so and split them up into three small pans.
I baked them at 450 and dropped them all into the same ice bath. They all cracked very nicely and only one broke, but it seemed like there was just a bit less cracking then my original batch of 450 marbles.
I don’t know for sure, but it’s possible making so many marbles at once caused the water to not be as cold once the later batches were dropped in. So if you really want to have a lot of cracks in your marbles you might have more luck with baking them in smaller batches.
I hope that you enjoyed this tutorial and found it helpful. If you have any questions or comments, please feel free to leave them below. I’d love to hear from you! Thank you for stopping by and happy crafting!

If you liked this tutorial, don’t forget to pin it for later on Pinterest!