
With Valentine’s Day right around the corner, I was in the mood to do some heart themed projects. So I decided to make a set of conversation heart magnets.
The style of the classic conversation hearts has always been eye catching to me and I’ve seen tons of cute projects that I’d like to try in the future. But for now, I’m going to start small and make some magnets to decorate my refrigerator.
My original idea was to make these magnets out of clay, but I had a bag of wooden hearts left over from Christmas that I didn’t want to go to waste. The final result ended up being pretty close to what I had in mind, which is usually all I’m hoping for when I take on a new project.

What You Will Need for this Project
Note: This post may contain affiliate links, which means that if you click on a link and make a purchase, I may earn a small commission at no extra cost to you. For more information, please see my Disclosure.
Materials:
Mini Wooden Hearts (approx. 1in)

Tools:
Pencil
Paint Brushes (a flat brush and a detail brush)

The type of magnets I’m using are called Neodymium/Rare Earth magnets and they are much stronger than other types of magnets. They are my magnet of choice when making crafts like this, but other magnet types like ceramic would most likely work just fine too. I would avoid the cheap peel and stick magnets, though. In my experience they are very weak and I don’t think would last very long.
The size of the magnets I used are 3/8 inch (about 10mm), but as long as the magnets are smaller than the hearts it doesn’t really matter.
How to Make Conversation Heart Magnets
Paint Base Coats
First, choose the colors for the base coats of your hearts. I went with some of the classic colors for conversation hearts, but you can choose any colors you like.
Using a flat paint brush, paint both sides of the wooden hearts. Depending on the thickness of your paint and how solid you want your color to be you may need more than one layer. Just make sure you let your paint dry all the way in between coats.
Here’s what they look like so far:
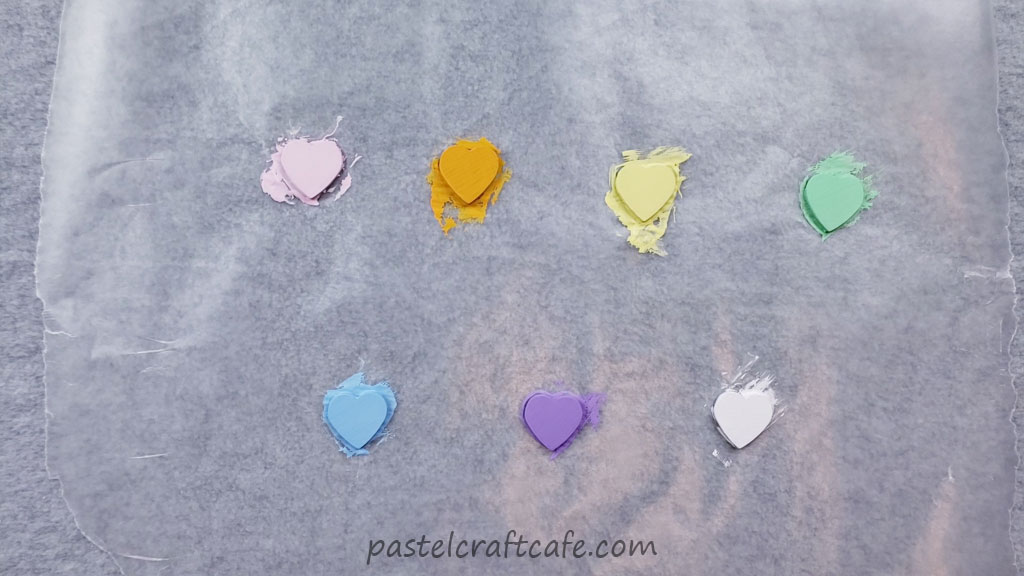
I wanted good solid paint coverage so I did two coats on the front. You can also use less paint if you want the wood to show through.
On the back of the hearts I only used one coat of paint. I figured that since the backs aren’t going to be visible anyway it wasn’t necessary to give them a second coat.
Add Lettering
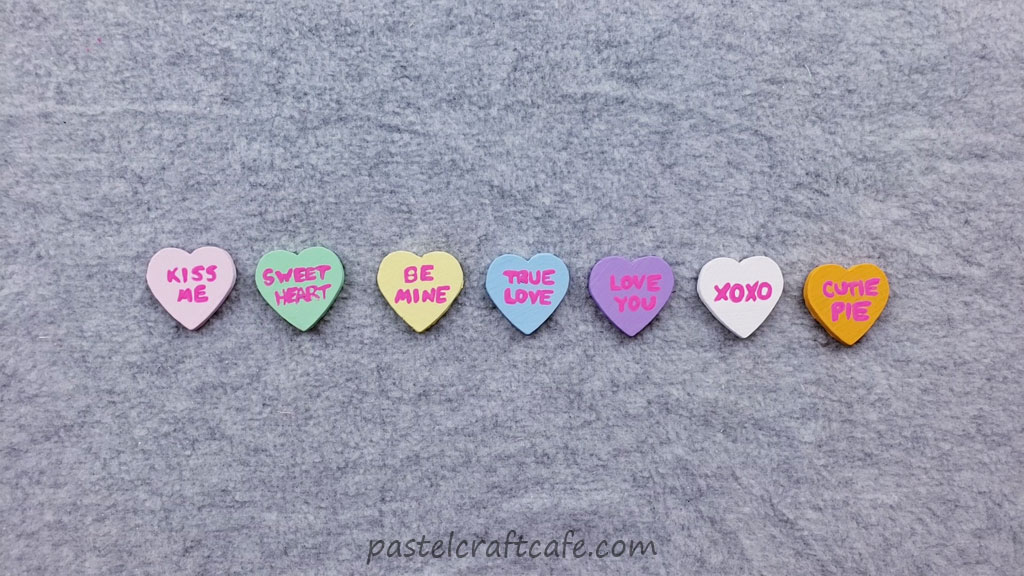
Once the paint is completely dry it’s time to add the “conversation” to these hearts.
If you are like me and aren’t super confident in your lettering skills, you can use a pencil to write your words. It’s so much easier to fix if you make a mistake or want to change things.

I chose a few of the classic phrases, but like with the colors you can choose any slogans you like.

Next, paint over your letters using a detail brush. I went with a dark pink for my lettering.

After painting all of the phrases on the hearts I went back to add a second coat to most of the letters because the pencil marks were showing through.
At this point, if you want to add a little extra protection to your hearts you could also brush on a layer of varnish. I didn’t feel the need to make mine super long lasting, but I wanted to put the idea out there for anyone who might want to do that.
Attach Magnets
After letting your letters dry, attach the magnet to the back using E6000 or another strong multipurpose glue.

Make sure to let your glue cure all the way before putting these magnets to use. Even if the glue has dried, if it isn’t cured the magnets could still easily come off. The cure times are a bit different between glues, but it’s usually around 24 hours.
Hang Your Conversation Heart Magnets
When the glue has cured, the magnets are ready to be used. The fridge is always my first thought for magnets but they would look great on any magnetic surface to add a little holiday flair.

Or if you don’t want to keep them for yourself, they would make a great gift for someone special.
Final Thoughts
Overall I’m happy with how these turned out. My biggest issue was doing the lettering. If I was going to do this project again I think I would try to find a fine tip paint pen in the same color so I could have a little more control.
Other than that this was a really quick and easy project. They are all sitting on my fridge right now, but when I’m ready to put them away they won’t take up much space. When I glued on the magnets I faced them all in the same direction, so they stack nicely together. It’s not something that had to be done, but I like it when things are neat and orderly like that.

I hope that you enjoyed this tutorial and found it helpful. If you have any questions or comments, please feel free to leave them below. I’d love to hear from you! Thank you for stopping by and happy crafting!
