
Before making this tutorial, the only pom pom maker I had made was the circular pattern, so I was interested to try making a rectangle template pom pom in comparison.
It’s very similar in steps to both the fork and finger methods. But as an added bonus, this one can be adjusted to make just about any size pom pom you need.
What You Will Need for this Project
Note: This post may contain affiliate links, which means that if you click on a link and make a purchase, I may earn a small commission at no extra cost to you. For more information, please see my Disclosure.
Yarn
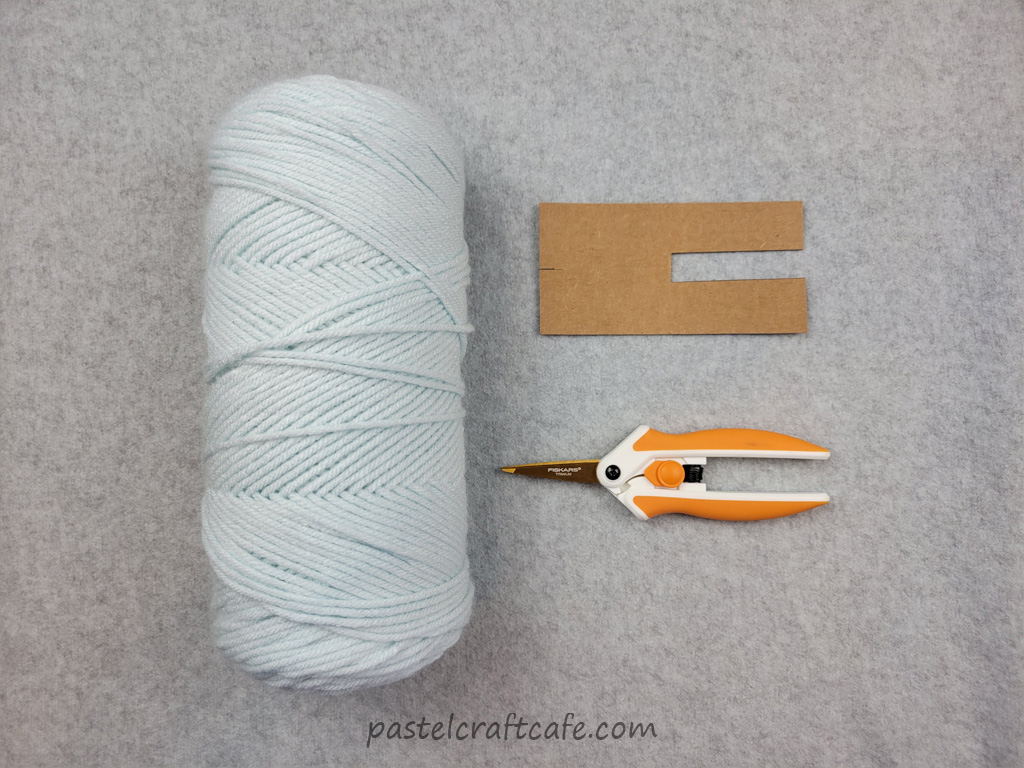
You can use any standard scissors you have on hand, but I HIGHLY recommend these ones when making Pom Poms. The smaller pointed tips make things much easier when snipping the pom pom loops. And with the added springs, your hands don’t get tired when trimming either.
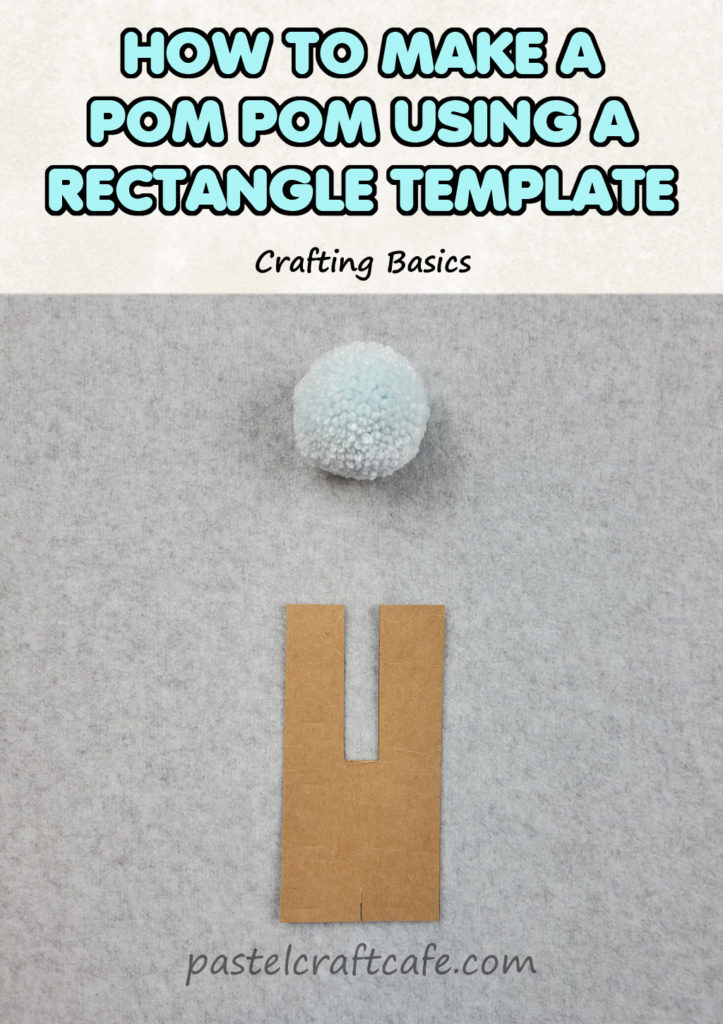
How to Make a Rectangle Template Pom Pom
Step 1: Trace and Cut Template
First you will need to make your pom pom maker. I used the cardboard from a cat food box, but you can use anything you want as long as it’s fairly thin and stiff enough to hold up to wrapping the yarn around it many times.
Simply trace the rectangular pom pom maker shape onto your cardboard and then cut it out. Don’t forget to cut the small notch on the left side. That will be important in the next step.
Though the overall shape is very simple, you can find the exact template that I used in my Resource Library. This template creates a pom pom that is about 2 inches wide. However, if you want a pom pom that’s bigger or smaller than that, it can easily be resized to whatever you want.
Step 2: Cut Small Piece of Yarn
Now cut a piece of yarn about 12 inches long. If you resized the template, your yarn piece may need to be a bit bigger or small than that. Then put it through the large opening in the right side of the pom pom maker. You can also use the small notch on the left side to hold the ends of your yarn piece in place so they are out of the way until you need it in step 4.

I’d also like to note that while I’m specifying the left side or the right side of the pom pom maker, that’s just to correspond with how I’m holding it in the pictures. It would work exactly the same if you decided to hold it the other way, or even facing up or down. Just do whatever is most comfortable for you.
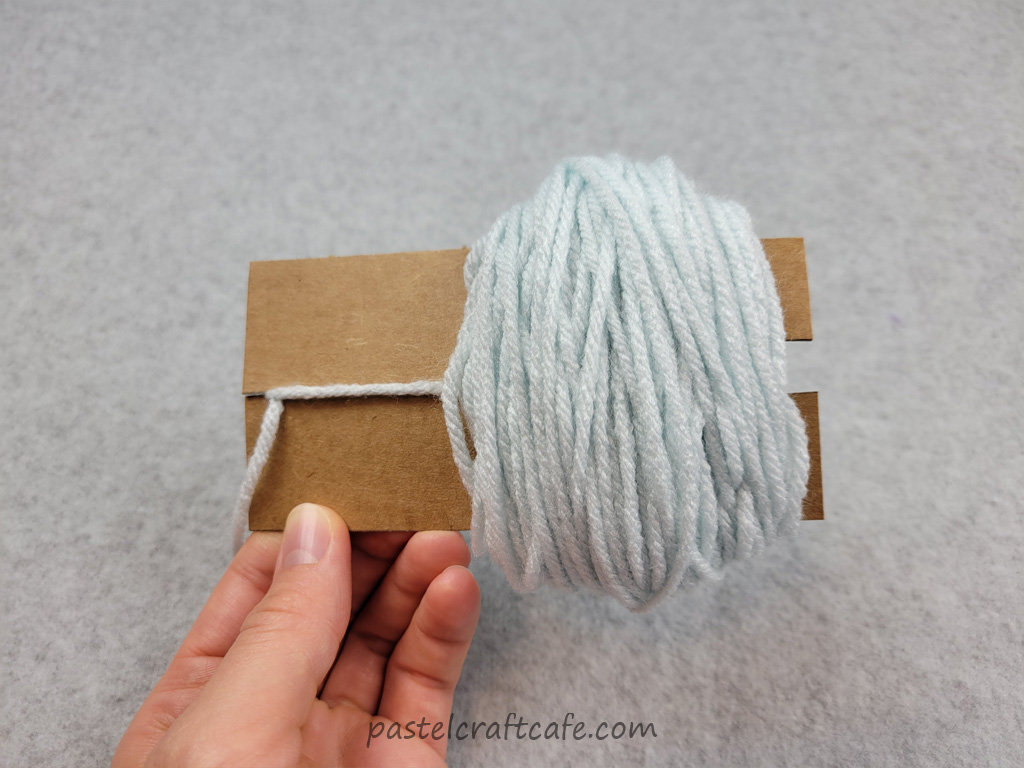
Step 3: Wind Yarn Around Template
Next, grab your main ball of yarn and begin winding it around the outside of the pom pom maker around the big opening. Try not to wind too close to either end of the opening. On one end, your yarn could start falling off the maker and on the other if you wind it too far inward it will make it difficult when you go to the next step in making your pom pom.
So something like this:

To get a good dense pom pom at the end, you’ll need to wind the yarn about 150 times. Winding it any more won’t make a difference once things are all trimmed down. And winding it less would produce a pom pom that’s too loose.
Here’s what it looks like when full:
When I say 150 times, that’s just the amount of yarn you need if you are using the same size template as the one in the resource library, though. If you have sized it bigger or smaller, you’d need to experiment a bit to find out what the best number of times to wind your yarn would be.
To give a general idea, though, this pom pom maker is 2.5 inches wide and needs to be wound 150 times for a good pom pom. If you size it up or down, for every half inch you add or take away, you’d need to wind your yarn another 50 times more or less, respectively.
For example, if I sized the template down to 2 inches, I would wind my yarn only 100 times. But if I sized it up to 3 inches, I’d wind it around 200 times. I hope that gives a good general idea for those who want to change the sizing a bit.
Step 4: Tie Yarn Bundle and Remove From Pom Pom Maker
Once the main yarn has been wound as many times as needed you can snip the end of the yarn. Now take the small piece of yarn you cut earlier and wrap it around the big yarn bundle. Tie it loosely around the main bundle, just enough so that everything will stay together.

Now you can carefully pull your yarn ball off the pom pom maker. Then tighten your small yarn piece and knot it as tightly as you can. One knot always seems to be enough for me, but you can knot it as many times as you want.

Step 5: Cut Loops
Next begin cutting the loops around the outside edge of the pom pom. If you need to, push any already cut loops aside so you don’t miss any of the ones underneath. Just be careful not to snip your middle thread or the whole pom will fall apart.

When all the loops have been cut it will look something like this:
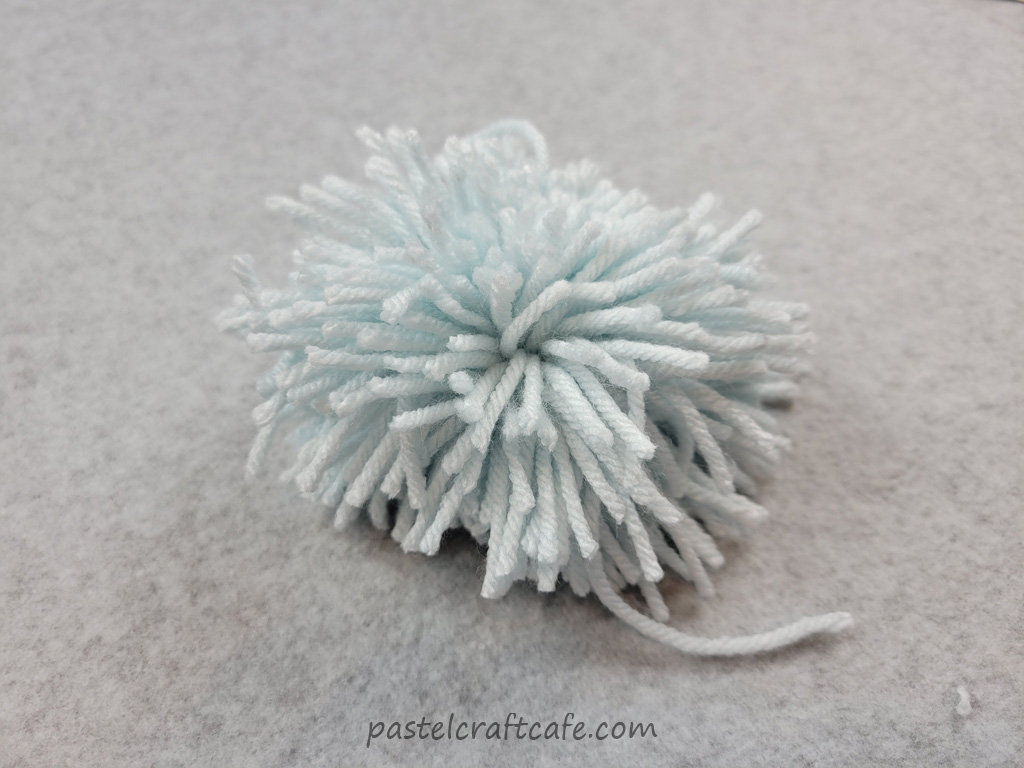
It finally looks like a pom pom, but it will need a bit of trimming to really look good.
Step 6: Trim and Shape
Using your scissors, snip the excess yarn off the pom pom. Continue to shave and shape it down until it looks the way you want. I prefer a nice dense pom pom, so I cut mine down quite a bit.

Afterward, you’ll be left with a big pile of yarn fuzzies. I like to keep a lint roller close by to help clean up the smallest bits that are hard to pick up.
And that’s it! Your rectangle template pom pom is now ready for a crafting project.
Final Thoughts
Overall, this method of making a pom pom worked very well. The pom pom maker is simple to make and can be resized to make just about any size pom pom you need, which can make it very useful if you need a very specific size pom for your projects.
As for the downsides, I prefer methods where I don’t need to count how many times I loop my yarn around the pom pom maker. But this is only because I prefer to make poms while watching TV or a movie and it can be easy to lose count if you’re not paying attention. There was also more yarn waste during trimming compared to some of the other DIY methods, but still nothing too crazy. All in all, the negatives are very minimal.
In the end, my favorite DIY pom pom method is still using my Clover pom pom makers. But in certain situations, this method can be very useful. I would still recommend it to anyone interested in making their own DIY pom poms.
I hope that you enjoyed this tutorial and found it helpful. If you have any questions or comments, please feel free to leave them below. I’d love to hear from you! Thank you for stopping by and happy crafting!
